Garden drainage tips: your practical UK guide for 2026
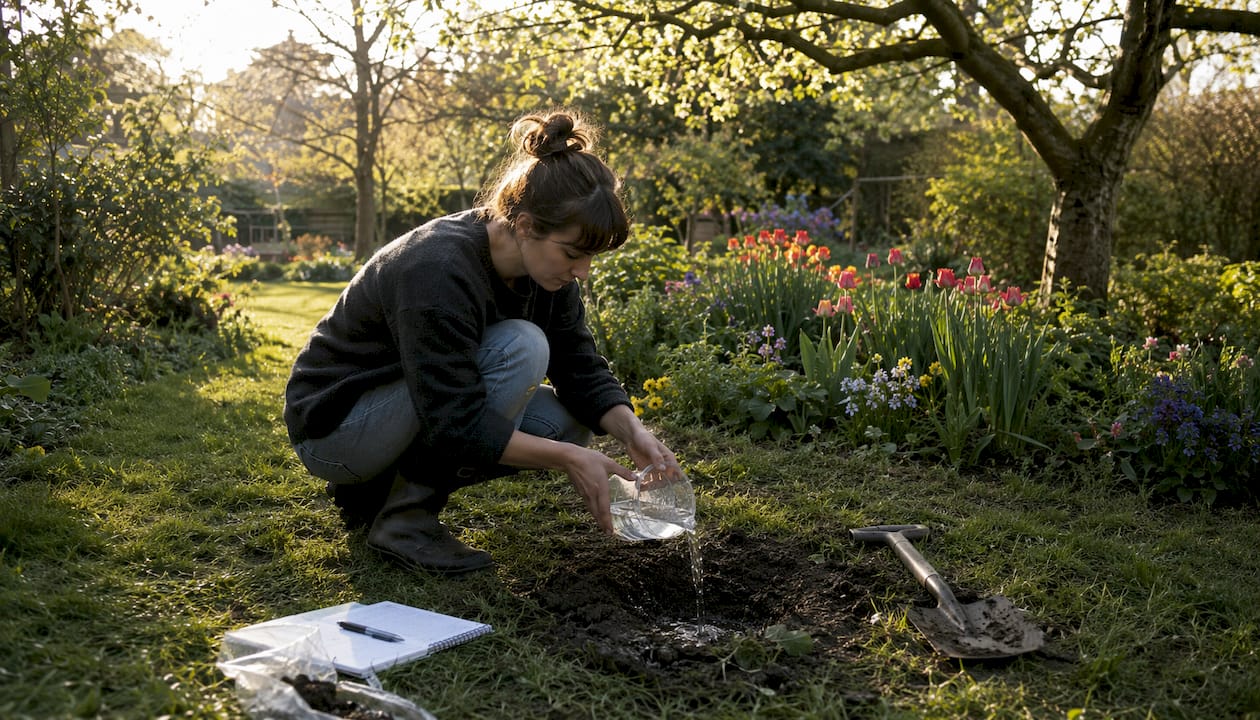
Poor drainage is one of the most damaging and preventable problems a garden can face. The good news is that testing your soil takes less than an hour, and knowing what you find tells you exactly what to do next. Start with a simple percolation test: dig a hole 30–60cm deep, fill it with water, and cover it to exclude rain. If water remains for hours or even days, your soil needs attention. The RHS recommends the ideal window for installing drainage systems is late summer to early winter, when ground conditions are at their driest and trenching is most practical.
Signs your garden has a drainage problem:
- Standing water or puddles that persist for extended periods after rain
- Waterlogged soil that feels soft and spongy underfoot
- Yellow leaves, root rot, or patchy grass in low-lying areas
- Surface puddling after moderate rainfall, suggesting compacted layers beneath
- Moss growing at ground level on hard surfaces or walls
Pro Tip: Before committing to a full drainage installation, try rotavating compacted beds and incorporating organic matter from Outdoor Spaces. The RHS advises exhausting cultivation methods first, particularly for established borders that have compacted over time. It is often cheaper and just as effective.
Table of Contents
- Which drainage system suits your garden?
- Common garden drainage problems and how to fix them
- How to maintain your drainage system long-term
- Professional guidance on drainage installation, safety, and UK legal compliance
- How to install garden drainage: a step-by-step guide
- Working with Gcscontractors on drainage and groundworks
- Key takeaways
Which drainage system suits your garden?
No single solution fits every garden. The right choice depends on your soil type, the slope of your land, and where the water can safely go. Combining surface grading with subsurface drainage typically delivers the best results, and most professional installations use at least two systems working together.
| System | Best for | Key benefit | Cost consideration |
|---|---|---|---|
| French drain | Low spots, foundations, waterlogged lawns | Moves water underground via perforated pipe and gravel | Moderate; DIY-friendly on small scale |
| Inceptor (trench) drain | Driveways, patios, hardstand areas | Captures surface runoff before it spreads | Low to moderate |
| Dry well | Sites with no nearby outlet | Allows water to percolate slowly into surrounding soil | Moderate; depends on depth |
| Swale | Sloped gardens, large volumes of runoff | Guides water naturally without pipes | Low; can double as a landscape feature |
| Rain garden | Low-lying areas, eco-conscious gardens | Absorbs and filters water using plants | Low to moderate; plants are the main cost |
Pros and cons at a glance:
- French drain: Reliable and discreet, but requires a clear outlet and correct gradient to function.
- Inceptor drain: Excellent for hardscape areas; can clog if not filtered properly.
- Dry well: Useful where no outfall exists, but unsuitable in areas with a high water table.
- Swale: Natural and low-cost, though it needs space and regular vegetation management.
- Rain garden: Attractive and environmentally sound, but plant selection and siting must be precise.
When your garden has both surface pooling and subsurface saturation, combining a swale with a French drain or a rain garden with a dry well gives you coverage at both levels. For guidance on groundworks and drainage planning, it pays to understand the full picture before breaking ground.
Common garden drainage problems and how to fix them
Most drainage failures come down to a handful of recurring causes. Identifying the right one saves you from expensive work that does not address the actual problem.
Soil compaction is the most common culprit, particularly in gardens that have seen heavy foot traffic, construction activity, or years of neglect. Compacted soil closes off the pore spaces that water needs to move through. Aerating the lawn, rotavating beds, and incorporating compost 5–10cm deep all help restore permeability.
Clay soil presents a specific challenge. Adding sand to clay is a mistake many gardeners make: rather than improving drainage, sand mixed into clay can create a concrete-like layer that makes things worse. Organic matter improves clay soil by increasing aggregation and pore space. Spread compost 5–10cm thick and work it into the top 15–30cm of soil.
Surface puddling after light rain usually points to a compacted layer just below the surface rather than a deep drainage failure. Grading the soil so it slopes away from your house at roughly 2–3% in the first two metres from the foundation often resolves this without any pipe installation.
Common problems with practical fixes:
- Compacted soil: aerate, rotavate, and add organic matter
- Clay soil waterlogging: incorporate compost, not sand
- Surface puddling: regrade the soil away from the house
- Broken or blocked pipes: inspect and flush; call a licensed drainage contractor if roots are involved
- Water pooling near foundations: extend downspouts and regrade; install a French drain if grading alone is insufficient
Pro Tip: Never connect a garden drain directly to a public sewer or storm drain. UK byelaws prohibit this, and doing so can result in fines and disputes with your local authority. Always direct water to a soakaway, ditch, or natural infiltration feature.
How to maintain your drainage system long-term
A drainage system that is not maintained will fail. Blockages from leaves, roots, and silt are the most common causes of system failure, and most are entirely preventable with a straightforward seasonal routine.
Regular maintenance keeps gutters, downspouts, and surface drains clear and extends the working life of any subsurface installation. Clean gutters at least twice a year, ideally in late autumn after leaf fall and again in early spring. Check that downspout extensions direct water at least one metre away from your foundations, and that splash pads or stones are in place to prevent erosion where water discharges.
Seasonal drainage maintenance is particularly important in the UK, where autumn leaf fall and winter freeze-thaw cycles create predictable blockage risks. In winter, clear snow and ice from drain grates and basement window wells before a thaw sends water rushing through a blocked system.
Ongoing maintenance tasks:
- Clean gutters and downspouts in autumn and spring
- Inspect drainage pipe outlets annually for silt, root ingress, or collapse
- Clear private storm drain grates after heavy storms
- Check swales and ditches for vegetation overgrowth that restricts flow
- Aerate the lawn annually to maintain soil permeability
- Add mulch to garden beds to improve absorption and reduce surface runoff
- Keep snow and ice clear of drain grates during winter thaws
Water runoff best practices:
- Never direct runoff onto a neighbour’s property or into a public sewer
- Use rain gardens or swales to manage redirected water on-site
- Disconnect roof downspouts from any direct drain connection and divert to a rain barrel or garden
- Inspect the system after any significant landscaping work that may have altered water flow paths
Professional guidance on drainage installation, safety, and UK legal compliance
Getting drainage right is not just a practical matter. There are legal obligations that apply to every homeowner in the UK, and ignoring them can lead to fines, neighbour disputes, and costly remediation.
UK byelaws prohibit discharging private garden drainage water into public sewers or storm drains. The preferred alternatives are soakaways, ditches, swales, or rain gardens that allow water to infiltrate naturally. Before any installation, check with your local authority to confirm what is permitted on your plot and whether your proposed outfall is lawful.
Pipe installation requires a consistent fall to work by gravity. Pipes need a fall of approximately 1:40 towards the outlet. On flat sites where this gradient cannot be achieved, an electric pump with float switches becomes necessary, adding both upfront cost and ongoing maintenance. This is a detail that catches many homeowners off guard when they plan drainage without professional input.
Key compliance and safety points:
- Check local byelaws before installing any drainage system that discharges off your property
- Never connect garden drains to public sewers or storm drains
- Achieve a minimum pipe gradient of 1:40 for gravity-fed systems
- Call utility providers to have underground cables and pipes marked before any trench digging
- Use perforated pipe on a firmed gravel bed, covered with at least 10cm of coarse gravel, for piped drainage
- On large-scale installations, engage a qualified landscape or civil engineering contractor
- Ensure all works comply with current UK building regulations
For projects that go beyond simple soakaways, the UK building regulations for residential drainage set out the standards that apply to pipe sizing, gradients, and outfall locations. Compliance is not optional, and a professional assessment at the planning stage is far cheaper than correcting a non-compliant installation after the fact.
How to install garden drainage: a step-by-step guide
Installing a French drain or piped drainage system is achievable for a confident homeowner on a small scale, but it requires careful planning. Here is a practical sequence that follows RHS installation guidance and civil engineering best practice.
Step 1: Test and map your drainage
Carry out the percolation test described in the opening of this guide. Walk the garden during or after heavy rain to map where water collects and how it flows. Note any natural slopes, low points, and existing pipes or cables.
Step 2: Identify your outlet
Water must go somewhere lawful. Options include a soakaway (a rubble-filled pit that penetrates porous rock), a ditch, or a stream if permitted. Confirm the outfall is legal before proceeding.
Step 3: Plan your pipe layout
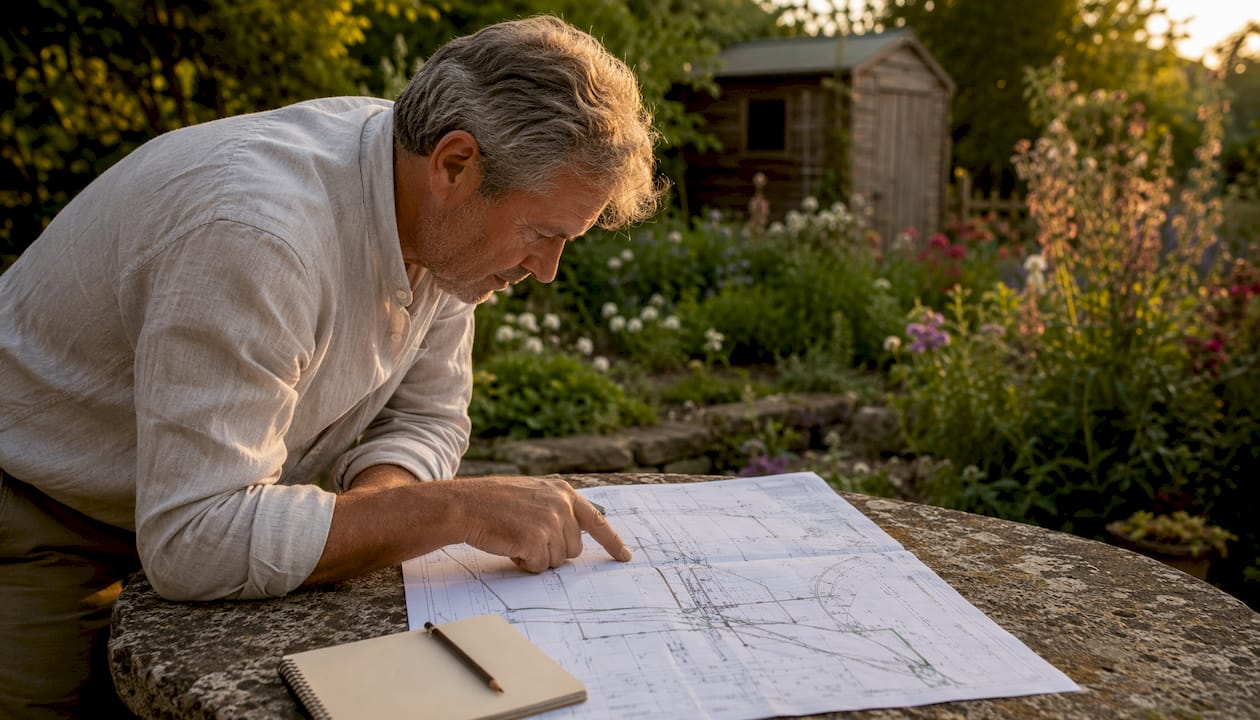
For piped drainage, a herringbone layout works well: feeder pipes meet a main line at 45-degree angles. Space lateral pipes 3–6 metres apart and plan for a consistent fall of 1:40 towards the outlet. Mark the route with canes or spray paint before digging.
Step 4: Dig the trenches
Trenches should be 40–60cm deep for most residential installations. Use a spade or hire a pedestrian-controlled trenching machine for longer runs. Call your utility provider first to have cables and pipes marked. For outdoor groundworks and civil engineering projects of this scale, professional groundworks support can save significant time and risk.
Step 5: Lay the gravel bed and pipe
Place a 5cm firmed bed of coarse gravel in the trench. Lay perforated plastic pipe on top, perforations facing down. Cover with a further 10cm of gravel, then a permeable membrane to prevent soil ingress.
Step 6: Backfill and reinstate
Backfill with topsoil and compact lightly. Reinstate turf or planting. Allow the ground to settle before assessing performance. For French drains without pipe, fill the trench with coarse gravel topped with permeable membrane and turf.
Step 7: Test the system
Run a hose into the highest feeder point and check that water flows freely to the outlet. Look for any areas where water backs up, which may indicate an insufficient gradient or a blockage.
For more detailed installation guidance, the drainage installation steps guide from Gcscontractors covers soil testing, pipe selection, and outfall options in full.
Working with Gcscontractors on drainage and groundworks

Gcscontractors brings civil engineering expertise to residential drainage projects across Cambridge and the East of England. Whether you need a soakaway, a piped drainage system, or a full groundworks assessment, the team works within live environments with minimal disruption and full compliance with UK health, safety, and building regulations.
For homeowners facing persistent waterlogging or planning a significant garden project, professional groundworks support removes the guesswork. Gcscontractors handles everything from site assessment and drainage design through to installation and reinstatement, backed by experience in both residential and commercial environments.
Get in touch with Gcscontractors to discuss your drainage requirements, or explore the groundworks and civil engineering services available in Cambridge and surrounding areas.
Key takeaways
Effective garden drainage starts with testing your soil and choosing the right system for your conditions, then maintaining it consistently to prevent blockages and legal issues.
| Point | Details |
|---|---|
| Test before you install | Dig a 30–60cm hole, fill with water, and observe; water remaining for hours indicates poor drainage. |
| Best installation window | Late summer to early winter offers the driest ground conditions for drainage works. |
| Avoid sand in clay soil | Adding organic matter, not sand, improves clay soil drainage by increasing pore space and aggregation. |
| Pipe gradient is critical | Gravity-fed pipes require a fall of 1:40; flat sites need an electric pump, which adds ongoing cost. |
| Legal discharge rules apply | UK byelaws prohibit connecting garden drains to public sewers; use soakaways, swales, or rain gardens instead. |
Recommended
- Surface Water Drainage Solutions: A Comprehensive Guide for UK Developers (2026) – GCS Contractors Ltd
- Commercial Drainage Solutions UK: The Definitive Civil Engineering Guide 2026 – GCS Contractors Ltd
- Guide to site drainage: what homeowners need to know
- Drainage installation steps: a homeowner’s guide